WPML is a versatile and powerful translation service for WordPress websites. It has capability to translate any content on a WordPress website, including your Blog posts, WooCommerce products, Images among others. This plugin, Productive Style (a.k.a, Google Fonts, Typography and Content) is compatible with WPML. And using WPML, you can translate both admin and customer-facing content of your website. To get started translating Productive Style plugin with WPML, please complete the following steps.
Step 1: Install WPML
- Purchase the WPML ‘Multilingual CMS’ package. Although you will find other packages on WPML website, the ‘Multilingual CMS’ package will provide all the resources to translate all aspects of your website, including this plugin, Productive Style.
- WPML is well-documented. So, follow the installation guide on WPML website to install, activate and set up your website for translation.
- While setting up WPML, you will be presented options that include translating everything on your website automatically or manually assigning translation to specific people or agencies.
- A comprehensive how-to guide will be provided with your copy of WPML and you will have access to their reputable support facilities and resources.
- Once WPML has been successfully set up, you should see the translated version of your website for each language, as per your choices during set up.
- And, within your website admin, you will have access to a variety of translation services and agencies, which you can try out. You will also be able to obtain credit to automatically translate your website.
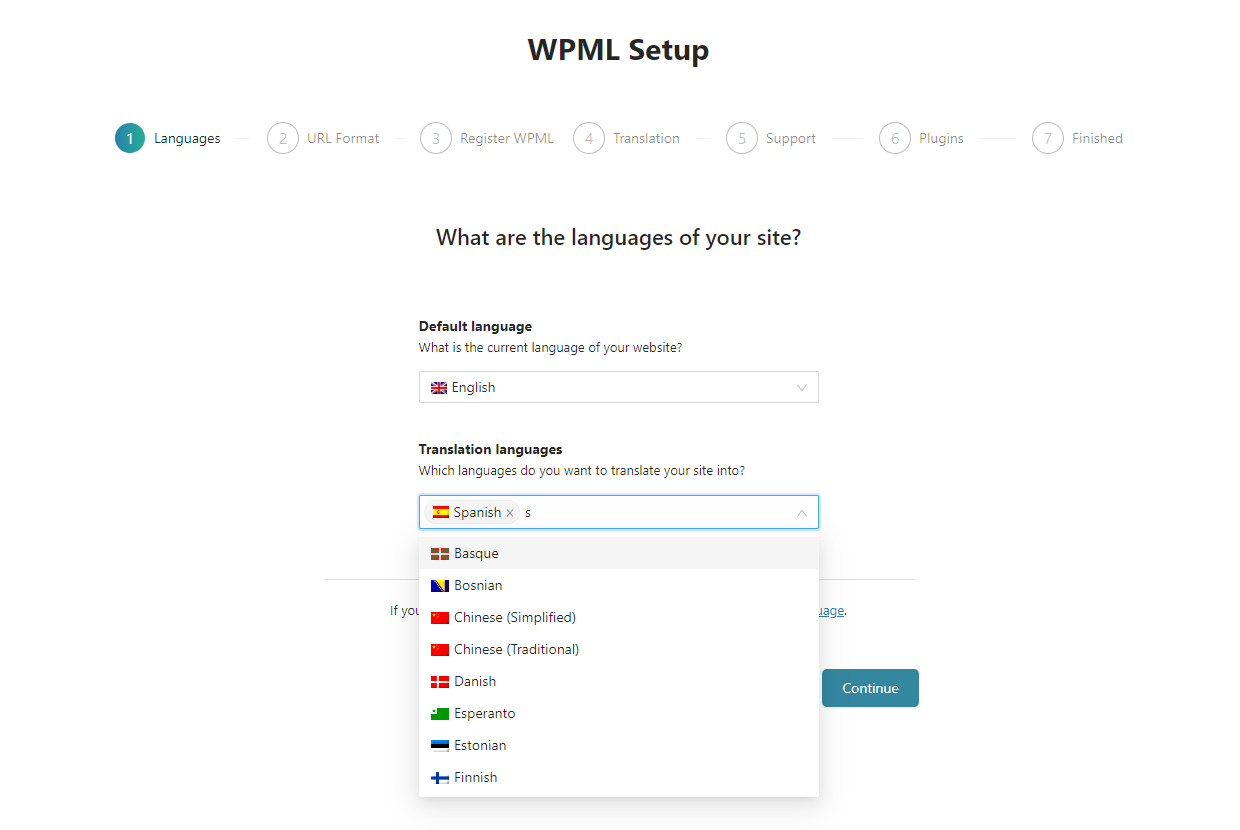
- Please find below, a screenshot of one of the setup stages for WPML.

Step 2: Add Languages
Assuming installation and set up has been successful, you can start translating content of your WordPress website to each language selected during WPML set up. If you need to change the languages supported on your website, you can add or remove languages after the initial set up by navigating to the languages page as listed below.
- Login into your WordPress website with an admin account.
- Go to WPML => Languages.
Step 3: Scan this Plugin for Translatable Strings
Before you can start translating this plugin, WPML needs to scan this plugin to retrieve all the content of the plugin that are intended for translation. Please complete the following tasks to allow WPML scan this plugin for strings to translate.
- Login into your WordPress website with an admin account.
- Go to WPML => Theme and plugins localization (see screenshot below).
- While on the Theme and plugins localization page, scroll down to the section ‘Strings in the plugins’.
- Then, locate and check the box for ‘Google Fonts, Typography and Content’ (see screenshot below).
- Now, scroll to the bottom of the page and click ‘Scan selected plugins for strings’.

Start Translating Productive Style Plugin
Finally, after successfully activating and setting, and scanning this plugin, as described above, you can start translating the the plugin.
To start, navigate to the String Translation page of your WordPress admin and get going…
- Login into your WordPress website with an admin account.
- Go to WPML => String Translation.
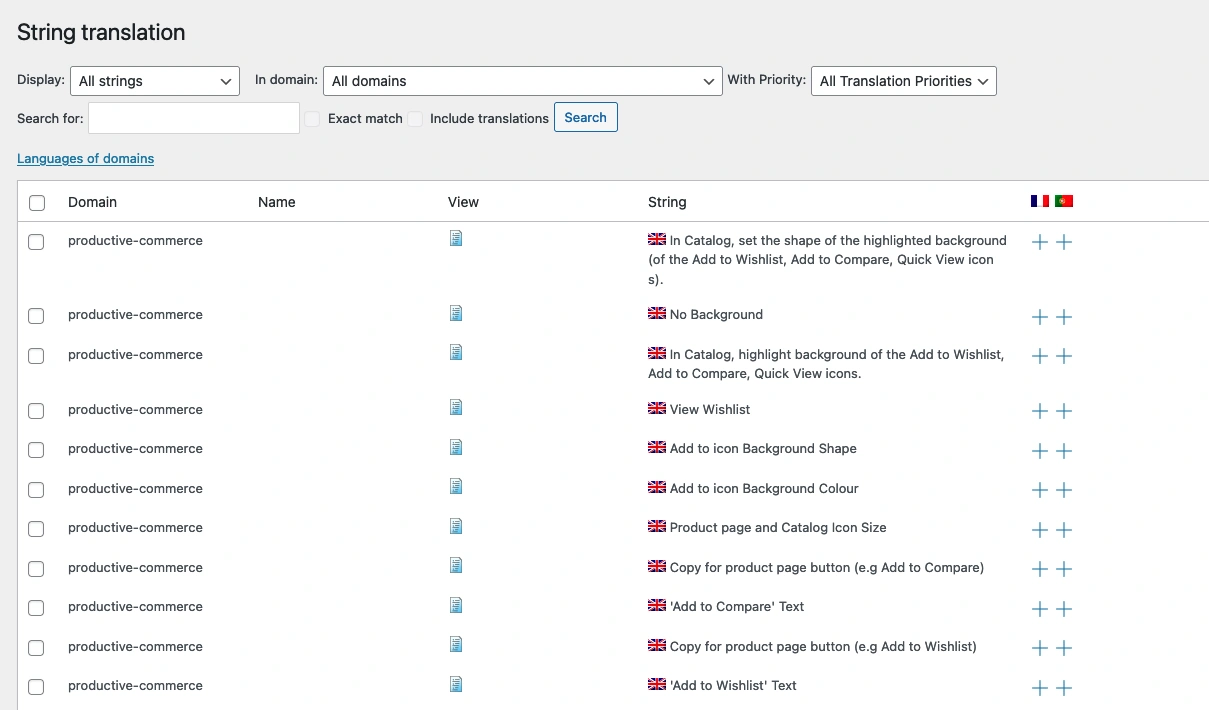
You should see a page with a section similar to the screenshot below, where you can start translating each string by selecting the plus sign on the right side (under the required language flag, as depicted below). If the plugin strings are not readily loaded, please select ‘productive-style’ in the ‘In domain’ drop down or search for it in the provided search box. WMPL is easy to use but, if you need further guidance, an extensive documentation and support is available in which you can start . Please visit WPML documentation here wpml documentation site.

