PASS Addons comes with over 70 Elementor widgets, allowing you to build complex layouts and functional pages using the Elementor page builder. As documented earlier in the “Elementor Widgets” section, all widgets share a consistent structure. This makes it much easier to customize your content and ensures a unified look across your website.
Once you become familiar with one widget, you’ll quickly feel confident using the others. Below are step-by-step instructions for some of the widgets to help you get started.
► About Me Widget
The About Me widget lets you introduce a person. Usually the site owner or author – by showing their profile information in an attractive layout. You can include a photo, a short bio, social media icons, and even a button that links to any page you choose.
This widget supports several display styles, such as sliders, grids, and simple lists, so you can place it anywhere on your site and match the look you want. It’s perfect for “About the Author” sections, team member introductions, or personal brand pages.
How To Use the About Me Widget
- Open the Elementor editor on the page you want to edit.
- Search for About Me in the widget search bar.
- Drag the widget to your desired location on the page.
- Use the Settings section to select categories, ordering, or row column etc.
- Use the Slider Options section to customize the sliders.
- Choose the layout (grid, slider, list) in the Layout section.
- Choose preferred content (title, photo, bio, etc) in the Content section.
- In the Settings section, choose the preferred options (type, sort order, etc).
- Adjust Style tab settings to customize spacing, colors, and typography.
- Publish your content when satisfied.
► Banner Sliders Widget
The Banner Sliders widget allows you to create rotating banners that display one slide at a time. These banners can include images, text, buttons, or other promotional content.
You can adjust the size, transition effects, and timing so each banner appears exactly how you want. It can also be configured to show multiple slides at once if needed. This widget is great for highlighting promotions, announcements, or important content at the top of a page.
How To Use the Banner Sliders Widget
- Open the Elementor editor on the page you want to edit.
- Search for Banner Sliders in the widget search bar.
- Drag the widget to your desired location on the page.
- Choose the layout (grid, slider, list) in the Layout section.
- Use the Settings section to select categories, tags, or specific posts.
- Use the Slider Options section to customize the sliders.
- Adjust Style tab settings to customize spacing, colors, and typography.
- Publish your content when satisfied.
► Breadcrumb Widget
The Breadcrumb widget shows visitors where they are within your website’s structure. It creates a simple navigation trail, starting from the homepage. This helps users understand their current location and easily move back to previous pages.
Breadcrumbs are especially helpful on websites with many sections or categories, improving user experience and SEO by keeping navigation clear and intuitive.
How To Use the Breadcrumb Widget
- Open the Elementor editor on the page you want to edit.
- Search for Breadcrumb in the widget search bar.
- Drag the widget to your desired location on the page.
- Choose the several layout options.
- Adjust Style tab settings to customize spacing, colors, and typography.
- Publish your content when satisfied.
► Content Element Widget
The Content Element widget makes it easy to place different types of content on almost any page of your website. After adding your content in the WordPress admin area, this widget lets you display it in several layouts, including grids, lists, sliders, and staggered sections.
It’s a flexible tool for showcasing text, images, custom fields, and more, helping you create dynamic, visually appealing pages without needing advanced design or coding skills.
How To Use the Content Element Widget
- Open the Elementor editor on the page you want to edit.
- Search for Content Element in the widget search bar.
- Drag the widget to your desired location on the page.
- Use the Settings section to select categories, tags, or specific posts.
- Use the Slider Options section to customize the sliders.
- Choose the layout (grid, slider, list) in the Layout section.
- Choose preferred content (title, button, excerpt, etc) in the Content section.
- In the Settings section, choose the preferred options (type, sort order, featured, etc).
- Adjust Style tab settings to customize spacing, colors, and typography.
- Publish your content when satisfied.
► Countdown Timer Widget
The Countdown Timer widget is perfect for creating urgency or highlighting important deadlines. It displays a live timer that counts down to a date and time you choose – such as the end of a sale, the launch of a product, or the start of an event.
This visual countdown helps attract attention and encourages visitors to act before time runs out.
How To Use the Countdown Timer Widget
- Open the Elementor editor on the page you want to edit.
- Search for Countdown Timer in the widget search bar.
- Drag the widget to your desired location on the page.
- Use the Settings section to select categories, tags, or specific posts.
- Use the Content section to set the target date and time.
- Adjust Style tab settings to customize spacing, colors, and typography.
- Publish your content when satisfied.
► Post Elements Widget Widget
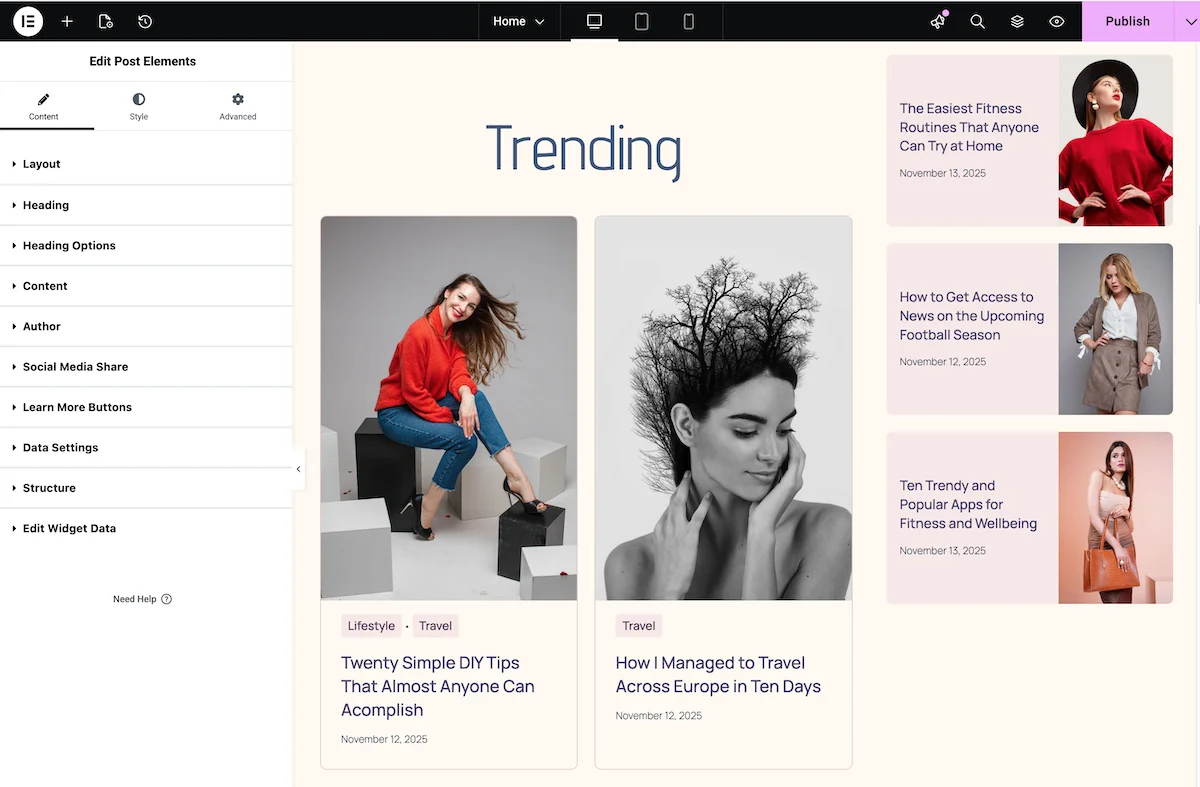
The Post Elements widget is ideal for displaying blog posts in various formats including sliders, grids, and lists. It allows you to showcase your blog content in a visually engaging manner that resonate with your audience..
How To Use the Post Elements Widget
- Open the Elementor editor on the page you want to edit.
- Search for Post Elements in the widget search bar.
- Drag the widget to your desired location on the page.
- Use the Settings section to select categories, tags, or specific posts.
- Use the Slider Options section to customize the sliders.
- Choose the layout (grid, slider, list) in the Layout section.
- Choose preferred content (title, media type, excerpt, etc) in the Content section.
- In the Settings section, choose the preferred options (type, sort order, featured, etc).
- Adjust Style tab settings to customize spacing, colors, and typography.
- Publish your content when satisfied.